
Quick answer: plan each meal before you leave, pack a cooler with a block of ice and the food you will eat last on top, keep cold food at 40°F or below, cook meat to safe internal temperatures, wash dishes at least 200 feet from water, and store all food in a vehicle or approved container so animals cannot reach it. A simple schedule of easy breakfasts, no-cook lunches and one-pot dinners keeps cooking stress low.
Food can make or break a camping trip. A warm cup of coffee at sunrise and a hot dinner after a long hike feel like luxuries, while spoiled chicken, a soggy cooler and a raccoon in the supply bin can end the weekend early. Most of those problems are preventable with planning.
Cooking outdoors is not much harder than cooking at home once the system is in place. What changes is the environment: no refrigerator, limited water, uneven heat, wind, and wildlife that wants your dinner. This guide covers the whole process, from meal planning to cleanup, and points to deeper articles for recipes and checklists.
Guidance here draws on food safety advice from the USDA, campfire and wildlife rules from the National Park Service and U.S. Forest Service, and the seven principles from the Leave No Trace Center. Rules vary by campground, so always check local fire restrictions and food storage regulations before you go.
Plan Meals Before You Pack
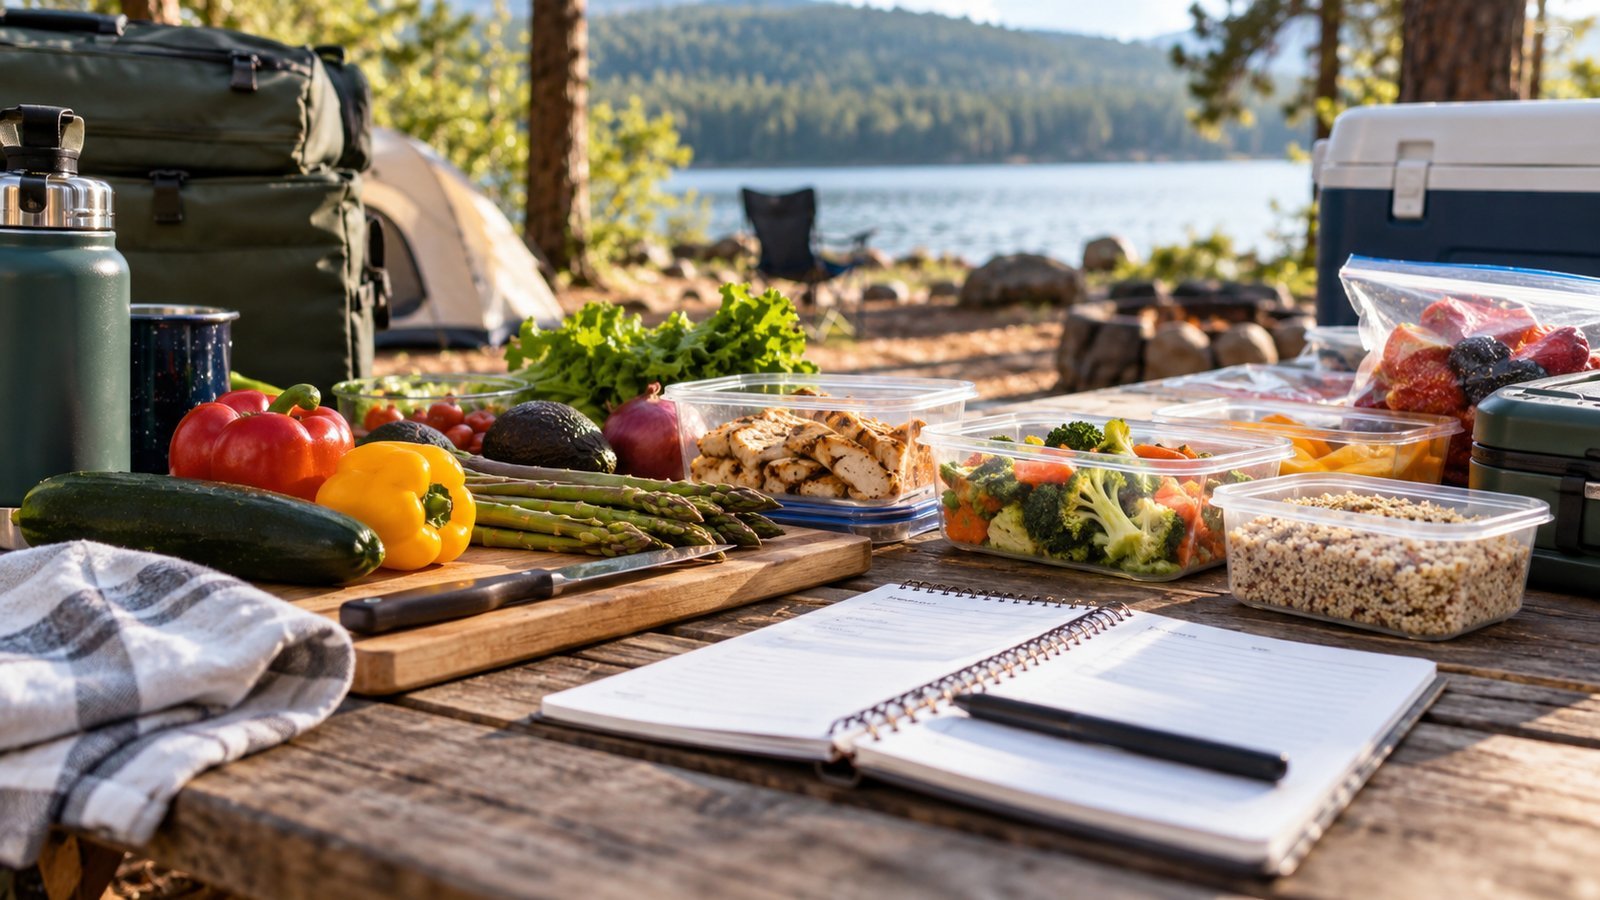
Meal planning is the biggest time saver. Without a plan, people overpack some items, forget others and end up buying overpriced supplies at a camp store. Write down every meal, count the people, and build a shopping list from it.
Start with the length of the trip and the type of camping. Car camping lets you bring a full cooler and a two-burner stove. Backpacking limits you to what you can carry, so food becomes light, dry and compact. RV and van campers have refrigerators but still need to think about water and power.
A simple structure helps:
- Breakfast: quick, hot and filling, such as oatmeal, breakfast burritos made ahead, or eggs in a bag.
- Lunch: no-cook or minimal-cook, such as wraps, sandwiches, cheese and fruit.
- Dinner: the one real cooking effort of the day, such as foil packets, chili, pasta or skillet meals.
- Snacks: nuts, dried fruit, granola bars, trail mix and fresh fruit that travels well.
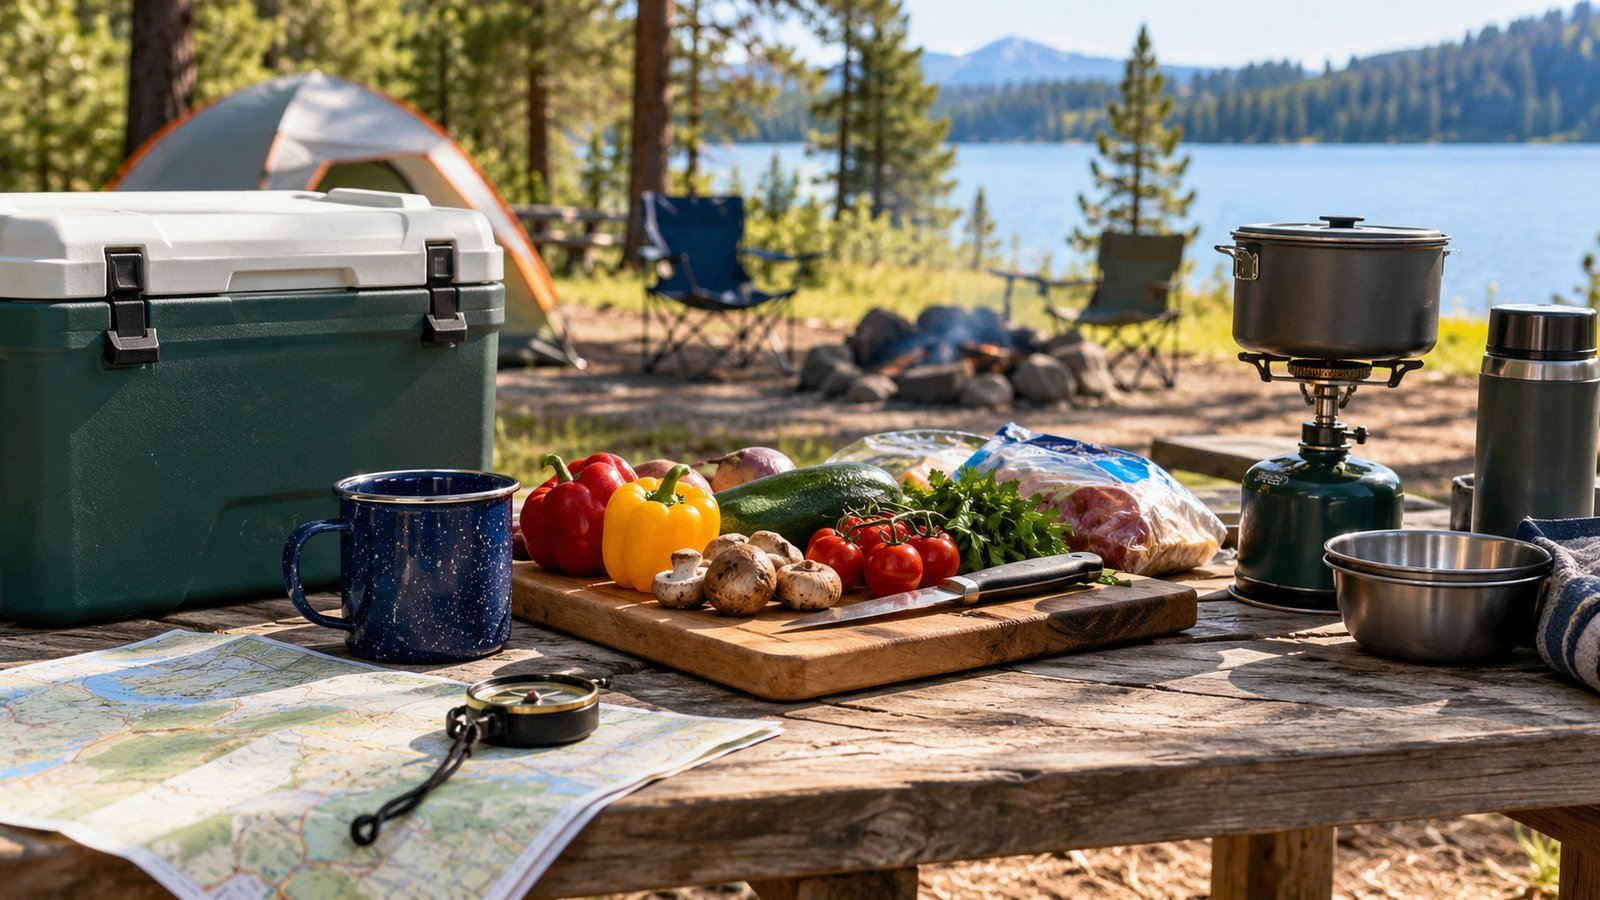
Prep at home to cut work at the site. Chop vegetables, measure spices into small containers, pre-mix pancake batter, and cook and freeze meals that can thaw in the cooler. Frozen meals act as extra ice. Our list of camping food for three days shows how to scale a plan, and the roundup of 25 premade meal ideas suits anyone who prefers to cook ahead.
Think about portion sizes as well. Outdoor days burn more energy than most people expect, so build in an extra snack for each person each day, and pack foods that need little prep when everyone is tired and hungry. Keep a short list of what is eaten on which day so perishable items go first.
Add a buffer meal. One shelf-stable dinner, like pasta and a jar of sauce or instant rice and canned beans, covers a delayed arrival, a rainstorm or a cooler failure.
Pack a Cooler That Keeps Food Safe
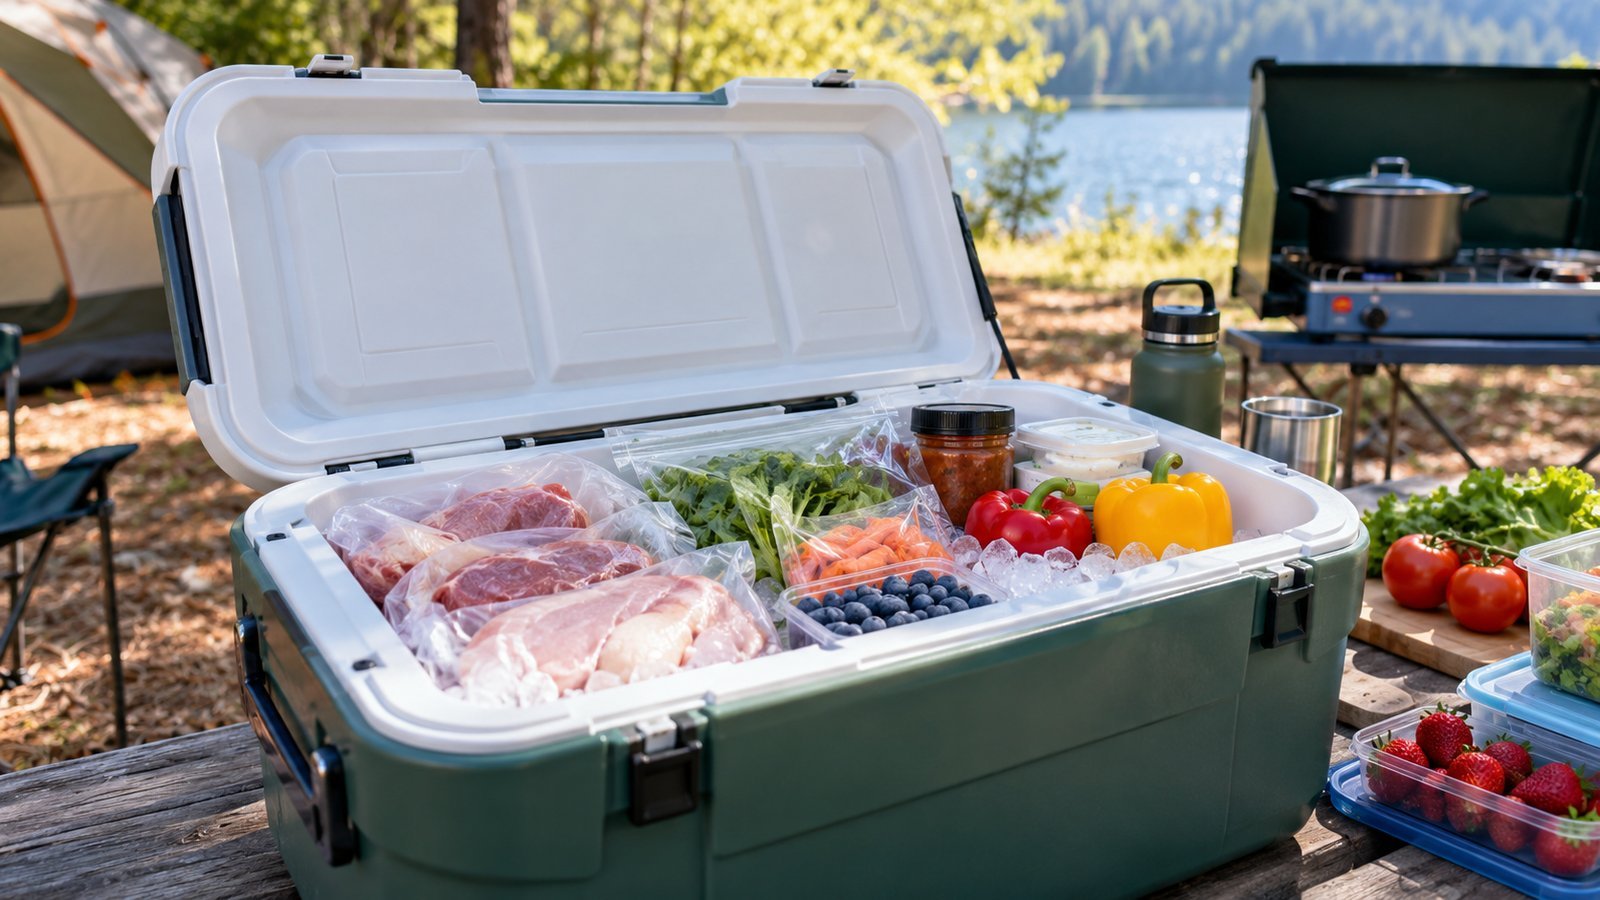
The cooler is your refrigerator, and the USDA is clear about the rule that matters: cold food should stay at 40°F or below. The range between 40°F and 140°F is called the danger zone, because bacteria multiply quickly there. Perishable food should not sit in that range for more than two hours, or one hour when the air temperature is above 90°F.
A few habits keep a cooler working longer.
Pre-chill everything
Cool the cooler itself by filling it with ice or a frozen jug the night before. Refrigerate or freeze food before loading. Warm food melts ice fast.
Use block ice and layer smartly
Blocks and frozen jugs melt slower than cubes. Put them on the bottom, then add the food you will use last. Place food you will use first on top. Keep raw meat in a sealed container or bag on the lowest layer, so juices never drip onto ready-to-eat food.
Use two coolers
One cooler for drinks and one for food is a classic split. Drinks get opened constantly, and each opening lets in warm air. A separate food cooler stays closed longer.
Keep it shaded and closed
Park the cooler in the shade, cover it with a blanket or tarp, and keep the lid shut. Drain meltwater only when needed, since cold water still helps hold the temperature.
Pack a thermometer. An appliance thermometer in the cooler tells you whether the temperature is under 40°F. If food has warmed above that range for more than two hours, throw it out. When in doubt, discard it.
Choose a Cooking Method
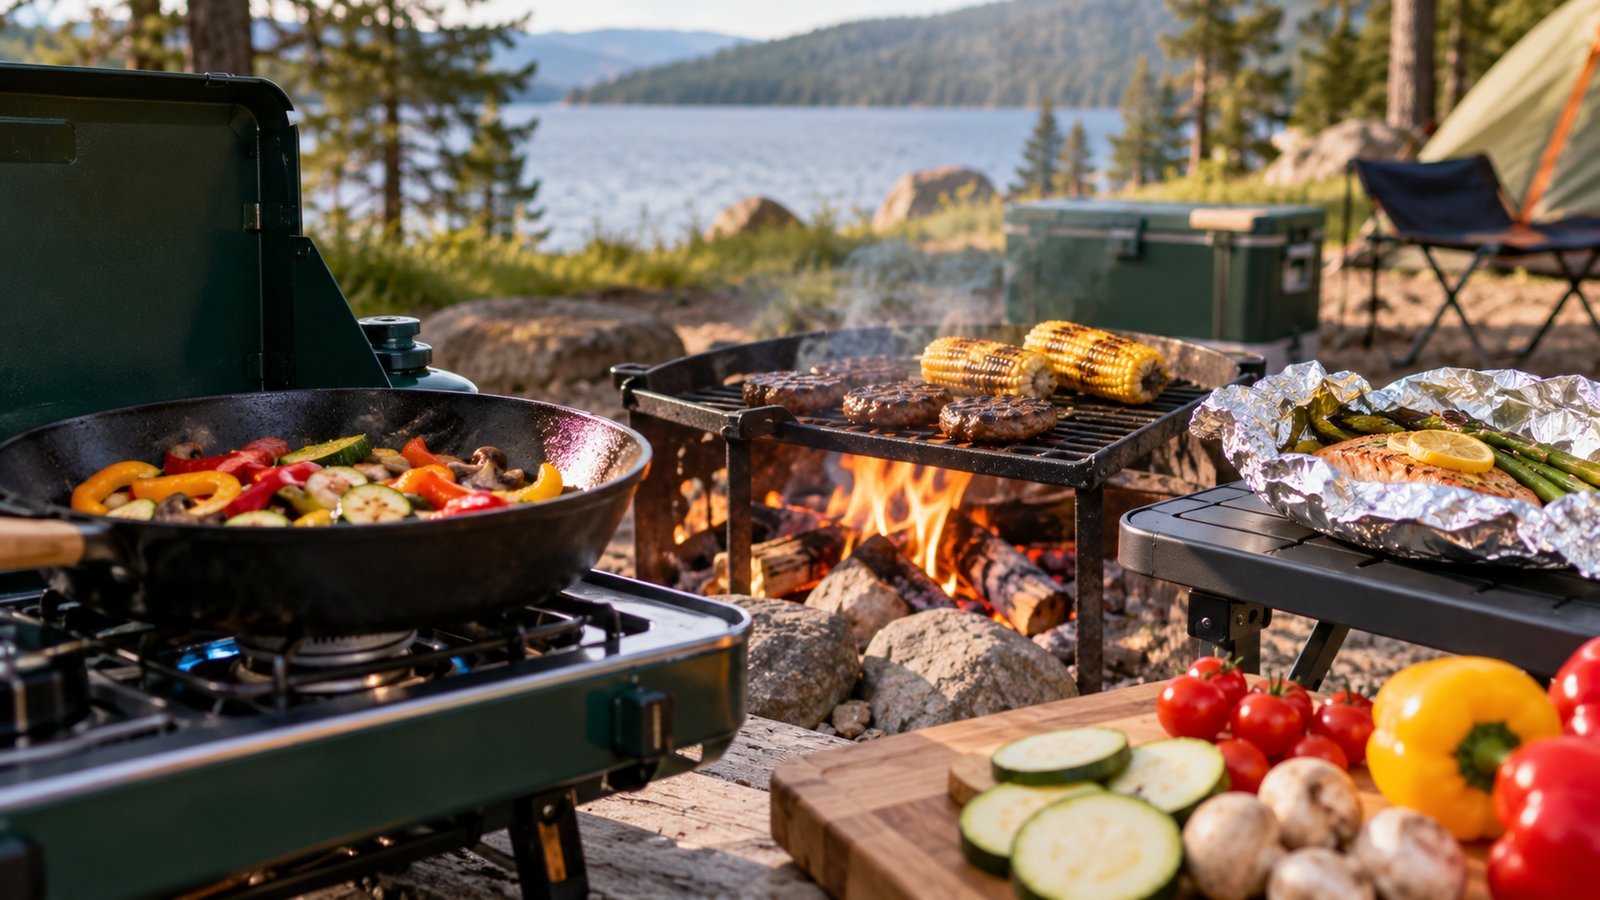
Most campers cook with one of three tools: a camp stove, a campfire or a Dutch oven and cast iron setup. Each has strengths.
A camp stove is the most reliable. It gives you steady, adjustable heat in any weather and works where fires are restricted. Propane two-burner stoves suit car camping, and small canister stoves suit backpacking. Always use a stove outdoors on a stable surface, never inside a tent, and keep a few feet of clearance from anything flammable.
A campfire is atmospheric but unpredictable. Cooking over flames takes patience, and the best heat comes from coals, not the leaping fire. Build a fire only where permitted, in an existing ring, and follow our guide to campfire safety before lighting anything. Check for fire bans, which can change daily in dry seasons.
Cast iron and Dutch ovens bring baking and slow cooking to camp. They are heavy, but they hold heat well and handle soups, stews, cobblers and bread. Coals on the lid and underneath create an oven. Many people use foil packets as a simpler alternative, wrapping seasoned vegetables and protein in heavy-duty foil and placing it on coals.
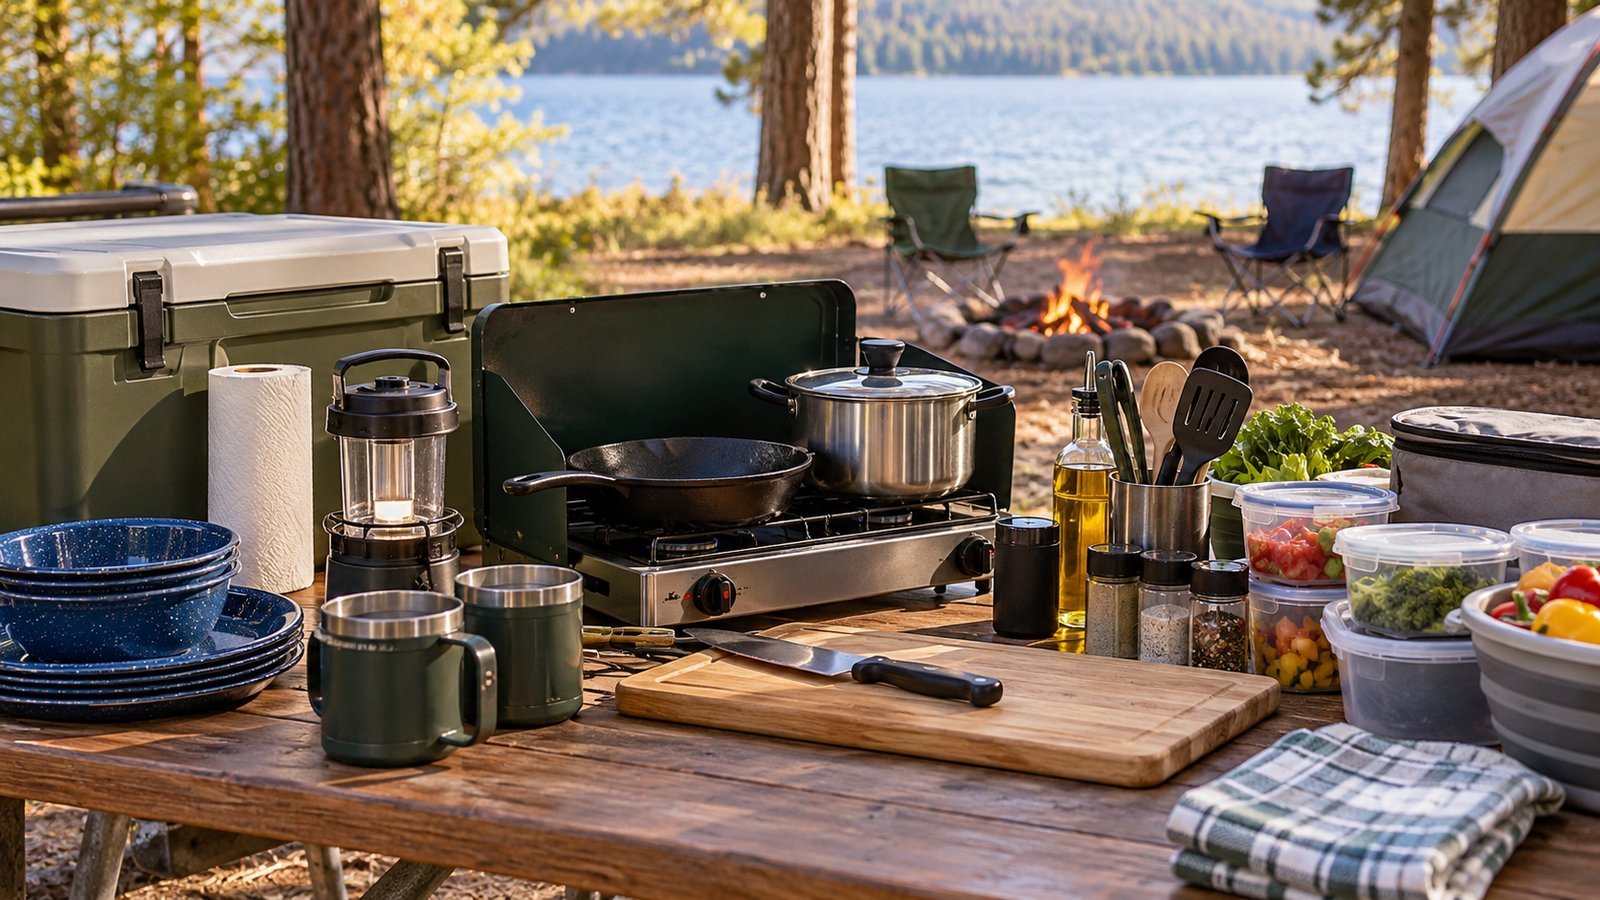
Gear matters but does not need to be elaborate. A basic kit includes a stove or grill grate, a pot with a lid, a skillet, a spatula, tongs, a sharp knife, a cutting board, a can opener, heat-resistant gloves and lighters or matches in a waterproof container. Match the kit to the menu, so every pot and tool earns its space in the car.
Cook Food to Safe Temperatures
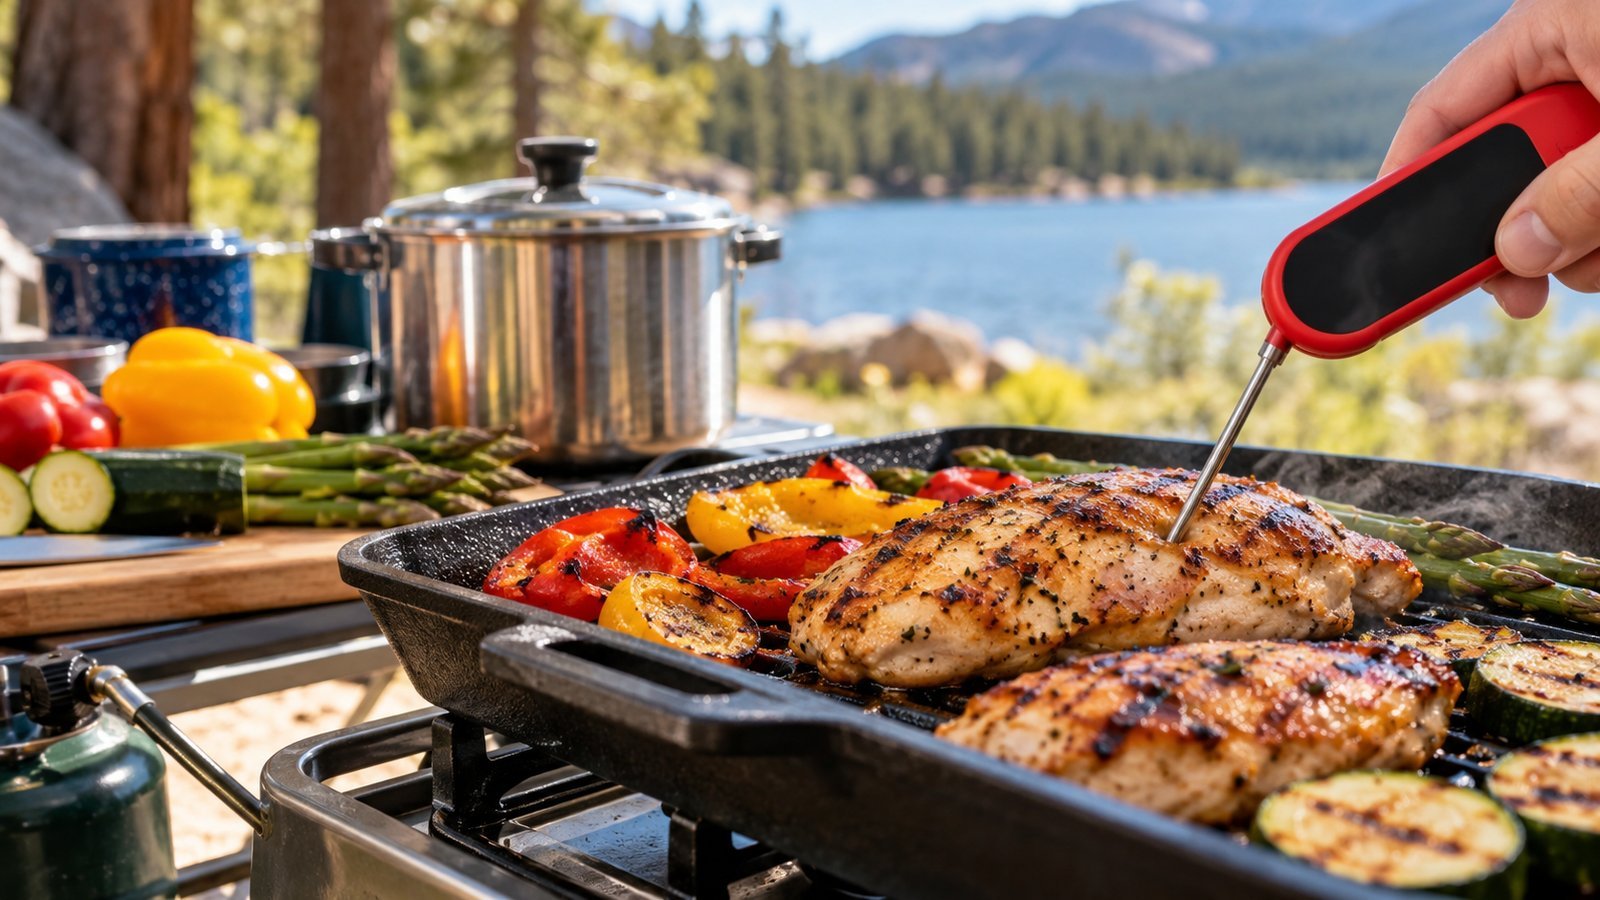
Cooking outdoors tempts people to guess when food is done. A food thermometer removes the guesswork, and it is the only reliable way to know. The USDA lists these safe minimum internal temperatures:
- Poultry, including ground chicken and turkey: 165°F
- Ground beef, pork, lamb and veal: 160°F
- Whole cuts of beef, pork, lamb and veal, plus fish: 145°F, with a three-minute rest for the meat cuts
- Leftovers and casseroles: 165°F
Wash hands before handling food, and use soap and clean water if available. When water is scarce, hand sanitizer works only on hands that are not visibly dirty, so wipe off dirt first. Use separate cutting boards and utensils for raw meat and for vegetables, or wash them between uses.
Keep hot food hot, at 140°F or above, until it is served. Put leftovers back into the cooler within two hours. In hot weather, that window shrinks to one hour. If you cannot keep leftovers cold, do not save them.
Keep Food Away From Animals
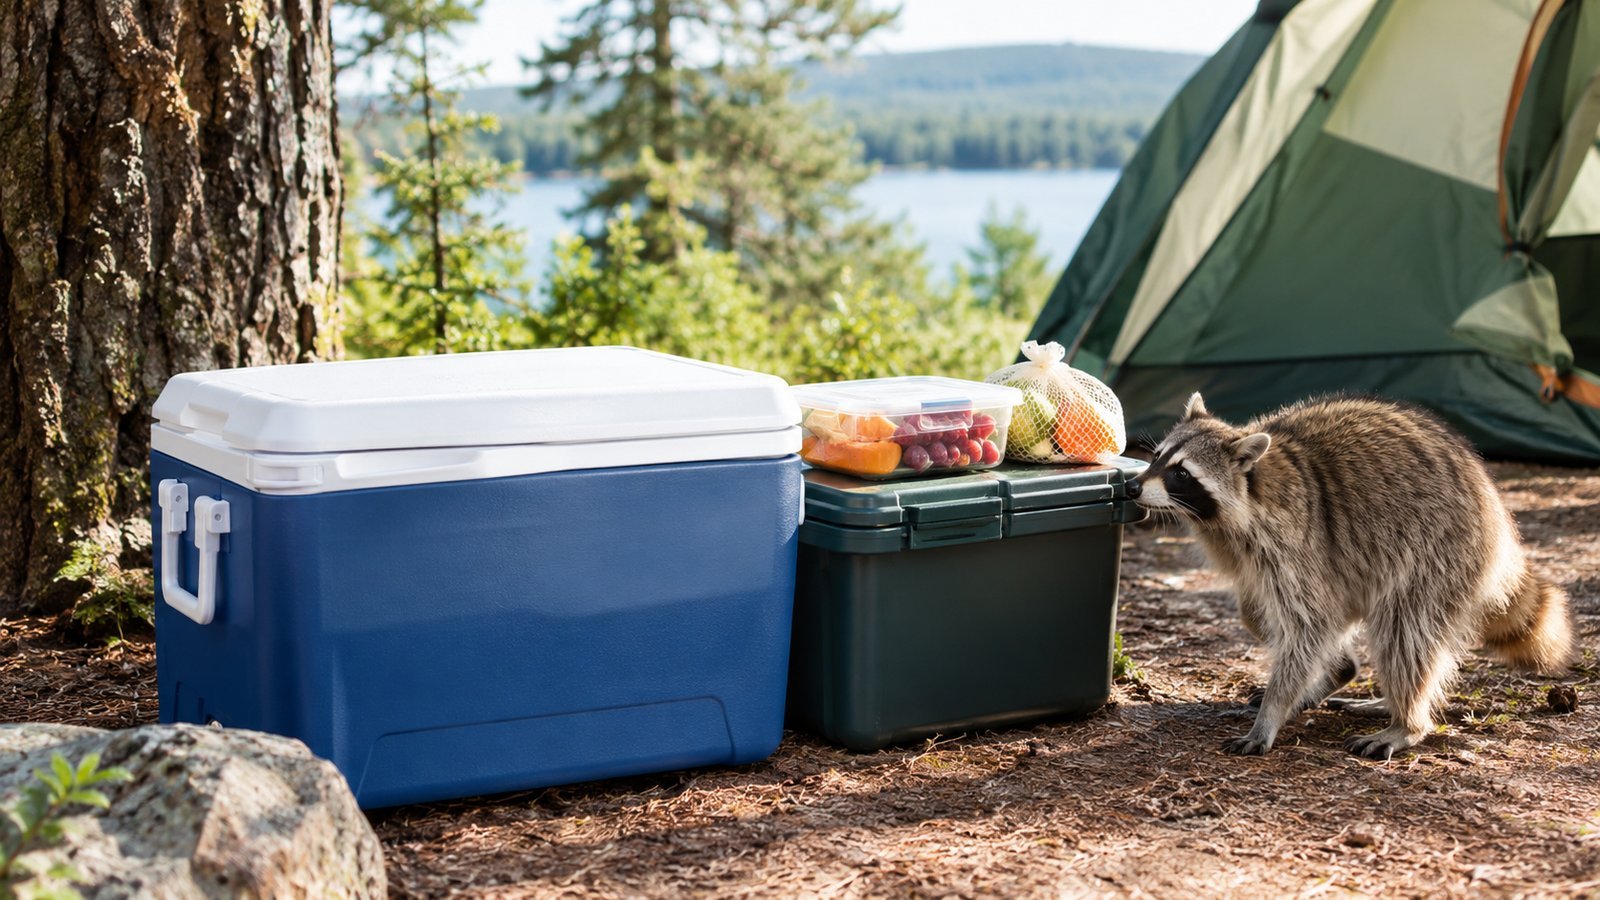
Wildlife learns quickly where food comes from. Raccoons, squirrels, bears, mice and even birds will go through a campsite, and animals that find food become a danger to people and to themselves. The National Park Service stresses that proper food storage protects both visitors and wildlife.
General rules apply nearly everywhere:
- Store food, coolers, trash, and scented items such as toothpaste in a hard-sided vehicle or an approved bear-resistant container when not in use.
- Do not leave food out while you are away from your site or while you sleep.
- Never keep food in your tent.
- Pack out all trash, including food scraps, or dispose of it in provided bins.
- Clean cooking surfaces and grills after each meal.
In bear country, rules are stricter. Many campgrounds provide metal food lockers, and others require bear canisters or hanging methods. Follow the posted regulations for your area. Ask a ranger about local animals when you check in.
Our article on campsite safety basics covers wildlife, weather and carbon monoxide in more detail.
Wash Dishes Without Harming the Site
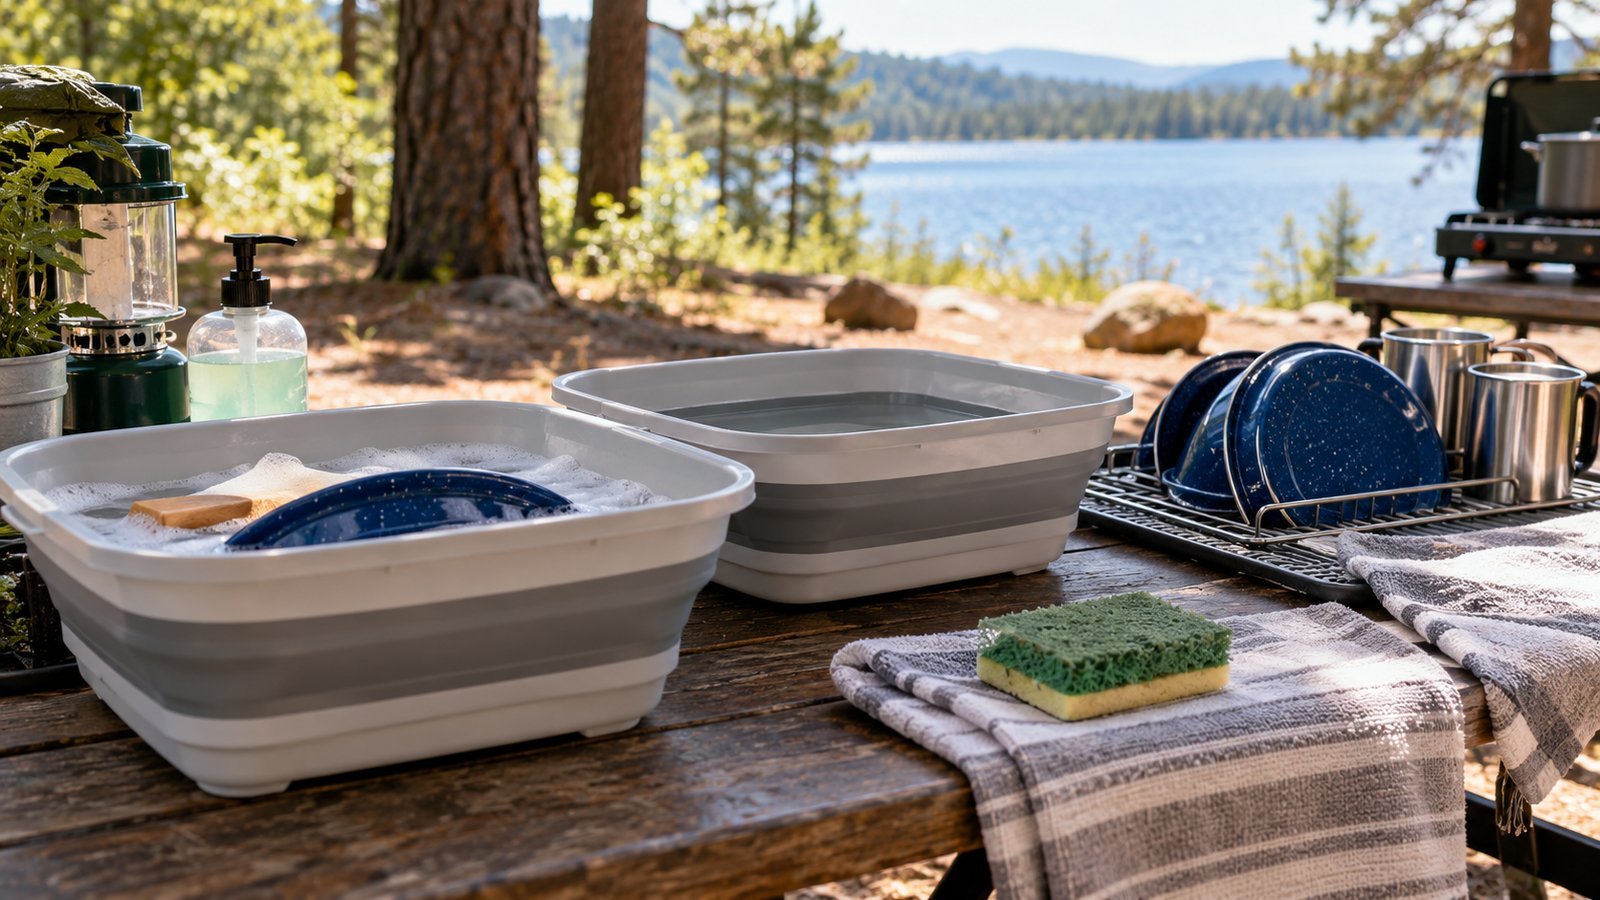
Cleanup deserves as much planning as cooking. Leave No Trace guidance says to carry water at least 200 feet, or about 70 adult steps, away from streams and lakes, and wash dishes there with a small amount of biodegradable soap. Strain out food particles using a mesh strainer and pack them out with your trash. Scatter the strained dishwater widely.
A simple three-bin system works well at camp. The first bin holds hot water and a little soap for washing, the second holds clean water for rinsing, and the third holds a diluted bleach or sanitizing rinse if you want to sanitize. Air-dry dishes on a clean cloth or hanging mesh rack.
Cooking in a way that reduces mess helps too. One-pot meals, foil packets, and disposable-lined pans mean fewer dishes. Scrape plates before washing and wipe greasy pans with a paper towel first.
Never wash dishes in a lake, stream or campground water spigot basin, and do not dump greasy water near your site, since it attracts animals. Our guide to Leave No Trace principles explains more about reducing your impact.
Special Diets and Drinks
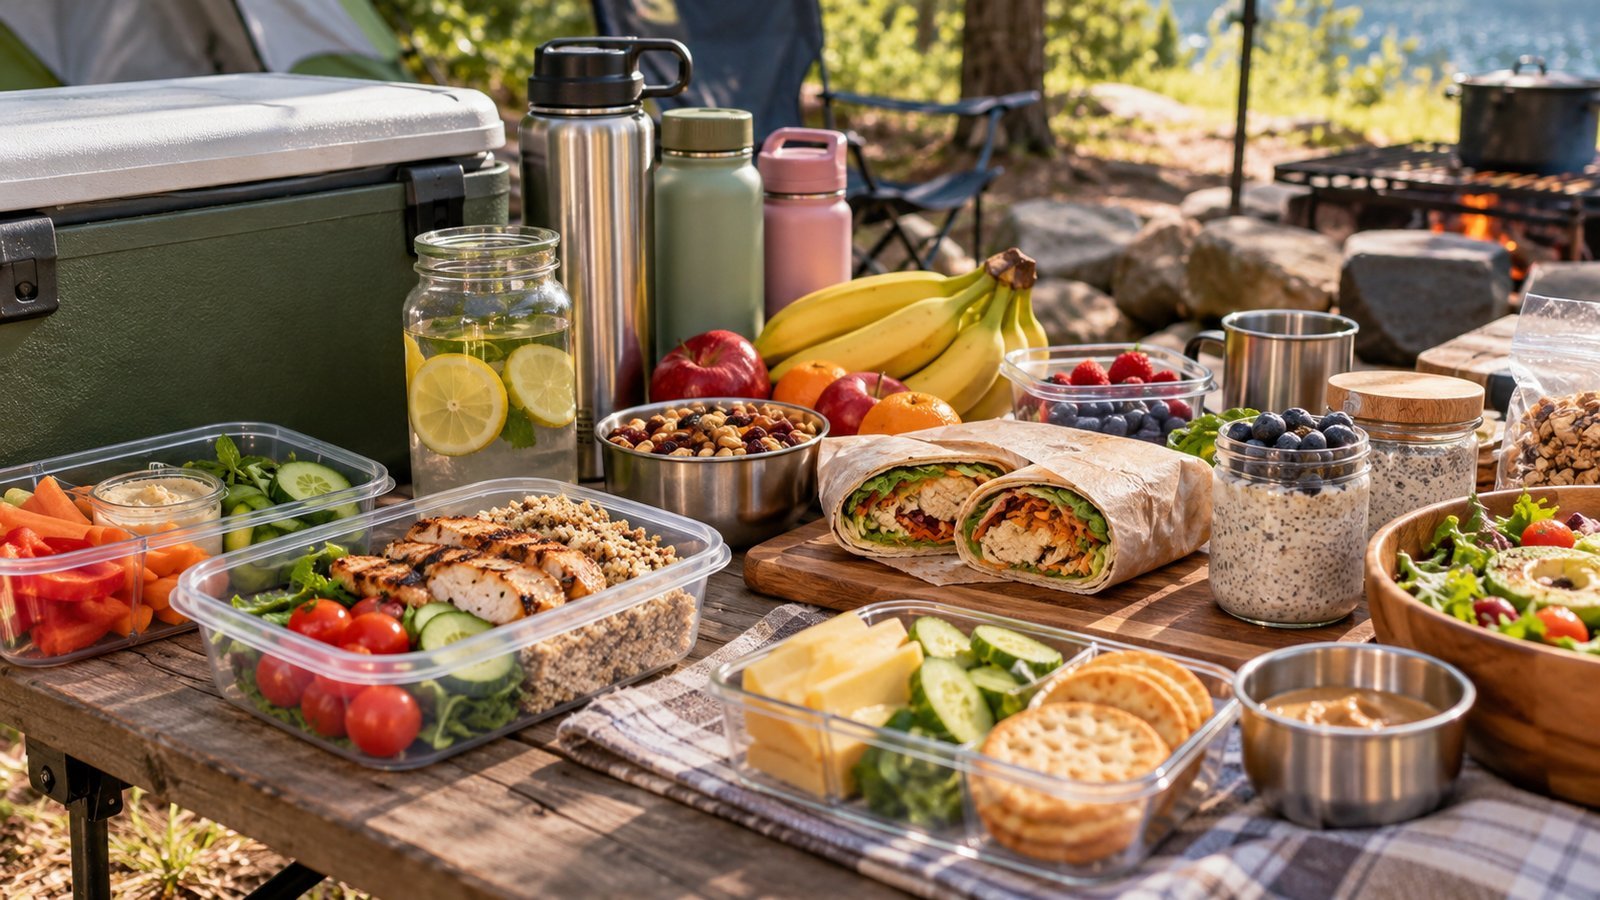
Camping food does not have to be traditional. Plenty of plans work for vegetarians, vegans, and people avoiding gluten or other allergens. Read labels on packaged foods, because ingredient lists change. Pack allergy medications and keep allergen-free food separate from other food, with its own utensils.
Plant-based meals can be quick and filling, and many travel well without refrigeration. Fresh produce travels best in hard-skinned varieties such as carrots, peppers, apples and oranges.
Drinks matter just as much as meals. Bring more water than seems necessary, and plan for drinking, cooking and cleanup. When you rely on a stream or lake, treat the water with a filter, tablets or boiling. Coffee lovers should read how to make coffee while camping, with options from percolators to pour-over.
Camp Kitchen Checklist
Run through this list before you leave:
- Meal plan and shopping list
- Cooler with block ice, plus a thermometer
- Stove, fuel and lighter or matches
- Pots, pan, utensils, can opener and knife
- Food thermometer
- Water containers and a filter or treatment method
- Biodegradable soap, sponge, wash bins and strainer
- Trash bags and a way to secure them
- Paper towels and hand sanitizer
- Bear-resistant storage if required by your destination
Check that each item works before packing it. A stove that will not light at camp is a bigger problem than one that fails in the driveway.
Sources used for this guide include the USDA Food Safety and Inspection Service guidance on safe temperatures and the danger zone, National Park Service wildlife food storage guidance, and the Leave No Trace Center’s principles.
Frequently Asked Questions
How cold should a camping cooler be?
Keep perishable food at 40°F or below, as the USDA recommends. Use an appliance thermometer, and throw out food that has been above 40°F for more than two hours, or one hour in air above 90°F.
What is the best way to pack a cooler for camping?
Pre-chill the cooler and the food, use block ice or frozen jugs on the bottom, and place raw meat in sealed containers on the lowest layer. Put the food you will use last at the bottom and food you will use first on top.
How far from water should I wash dishes?
Leave No Trace guidance says to wash at least 200 feet from streams and lakes, which is about 70 adult steps. Use a small amount of biodegradable soap and scatter strained dishwater.
Can I store food in my tent?
No. Food in a tent attracts animals and can lead to dangerous encounters. Store it in your vehicle or an approved container.
What temperature should chicken reach?
The USDA says poultry should reach 165°F internally, measured with a food thermometer in the thickest part.
Leave a Reply